As featured in Waterline Autumn 2021
Field Analysis Tips
Jemma Tennant, City of Edinburgh Council
On site field testing is a key part of every successful water treatment programme. Not only does it satisfy legal requirements, but it is an easy way to quickly gain information on system performance. This can result in improved efficiency and plant integrity, and increased plant longevity. Regular on-site analysis can also result in cost savings on water, power and chemicals. Most importantly, regular analysis can ensure the health and safety of employees, visitors and the public by helping protect them against the risk of deadly diseases such as Legionella. When I started my career in water treatment some years ago, I was put on a gruelling six-week intensive training course followed by months of shadowing my more experienced colleagues to see how things were done. I had to meet certain criteria before I was allowed out on my own which took around six months to complete. Sadly, nowadays this type of training rarely exists and although It is easy to train a new recruit how to carry out onsite analysis, to be able to train them on how to interpret the results and to know what to do when something goes wrong or doesn’t seem right is definitely more of a challenge. Over the last few months I have been gathering field testing tips from many of my associates for this article which will hopefully help some of our members out in the field in future.
The Visual Inspection
As we know, there is a legal requirement to carry out a full inspection on most plant at a given frequency. These can be very time consuming and usually require the plant to be off-line. However, there are some things that can easily be done and act as a useful aid if any problems are detected during the routine service visit.
Steam Boilers
The information you can get from simply looking at the boiler sight glasses is always useful and can quickly identify potential problems such as carry over, or foaming, and contamination.

Figure 1 – Boiler sight glass
Things to look for include an unstable water line which could indicate “boiler bouncing” or “priming”, the colour of the water, presences of foam or heavy solids.
Bouncing occurs when steam bubbles cannot escape through the water due to dirty water. This in turn will cause foaming which will lead to carryover. There are also other factors which can lead to carryover, both mechanical and chemical. Chemical factors include high alkalinity, contamination by oils or fat, and mechanical factors include high water, operating pressure and boiler design.
Carry over will not only affect the quality of the steam, but it can lead to bigger mechanical issues. As well as potentially contaminating control valves, heat exchangers and steam traps. More serious, as the boiler water gets up into the header, it can cause a water hammer which in extreme cases can cause steam pipes to burst.
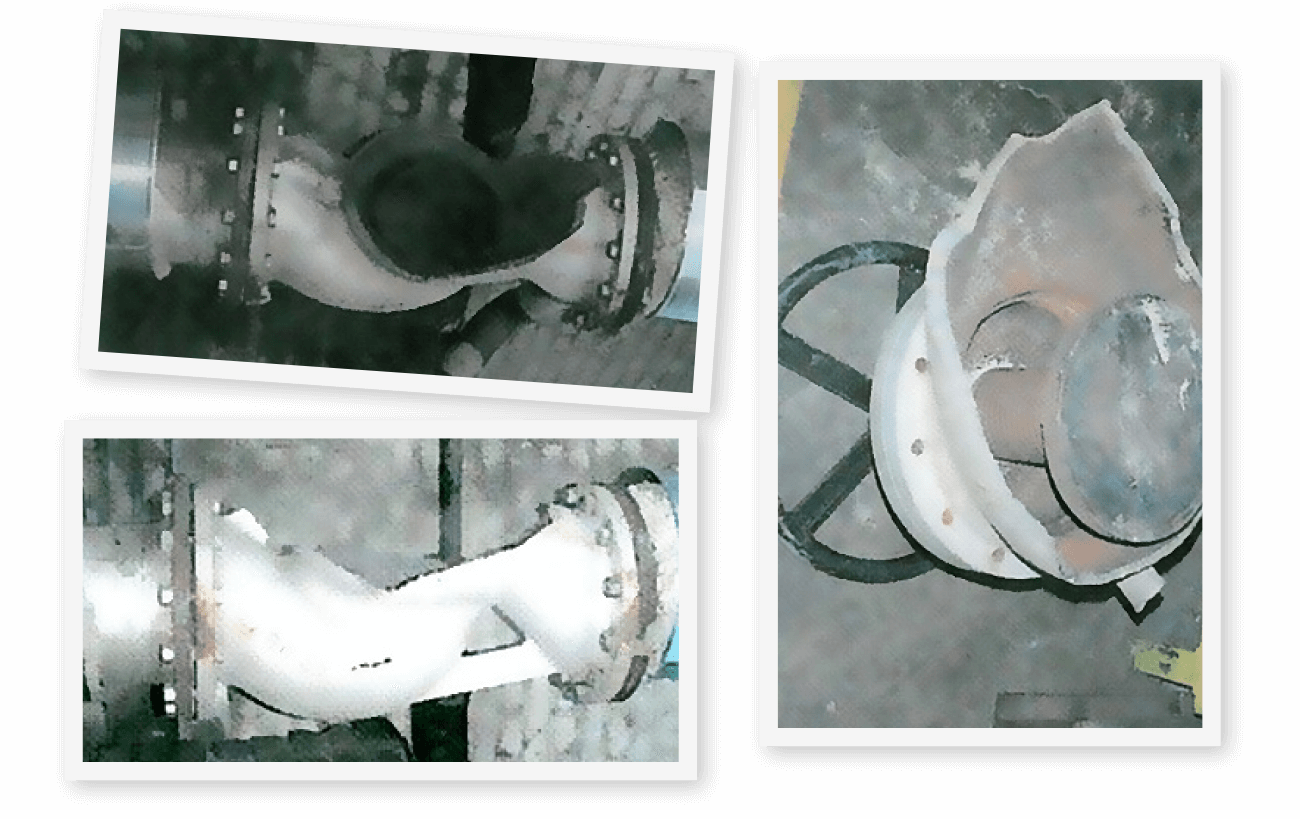
Figure 2 – Examples of damage caused by water hammer.
Photos courtesy of sciencedirect.com
Other things to check include the chemical containers – are there enough chemicals, are the dosing lines leaking or disconnected and are the pumps working?
If there is a softener you should record where the softener is in its service cycle and if it’s a duplex which softener is online. Always check the condition of the brine tank and the salt reserves. If any of these are unsatisfactory, this information can be very helpful in identifying possible causes.
Cooling Towers
If possible, and visible whilst the tower is on-line, inspecting the pack and the sump will be able to identify possible biological fouling, algal growth, contamination or scaling. Is the water clear? Are there any areas/evidence of stagnation? Is the sump suitably screened? Is the water evenly distributed over the pack? Does the blowdown work? Is there evidence of foaming?

Figure 3 – Scaled cooling tower pack
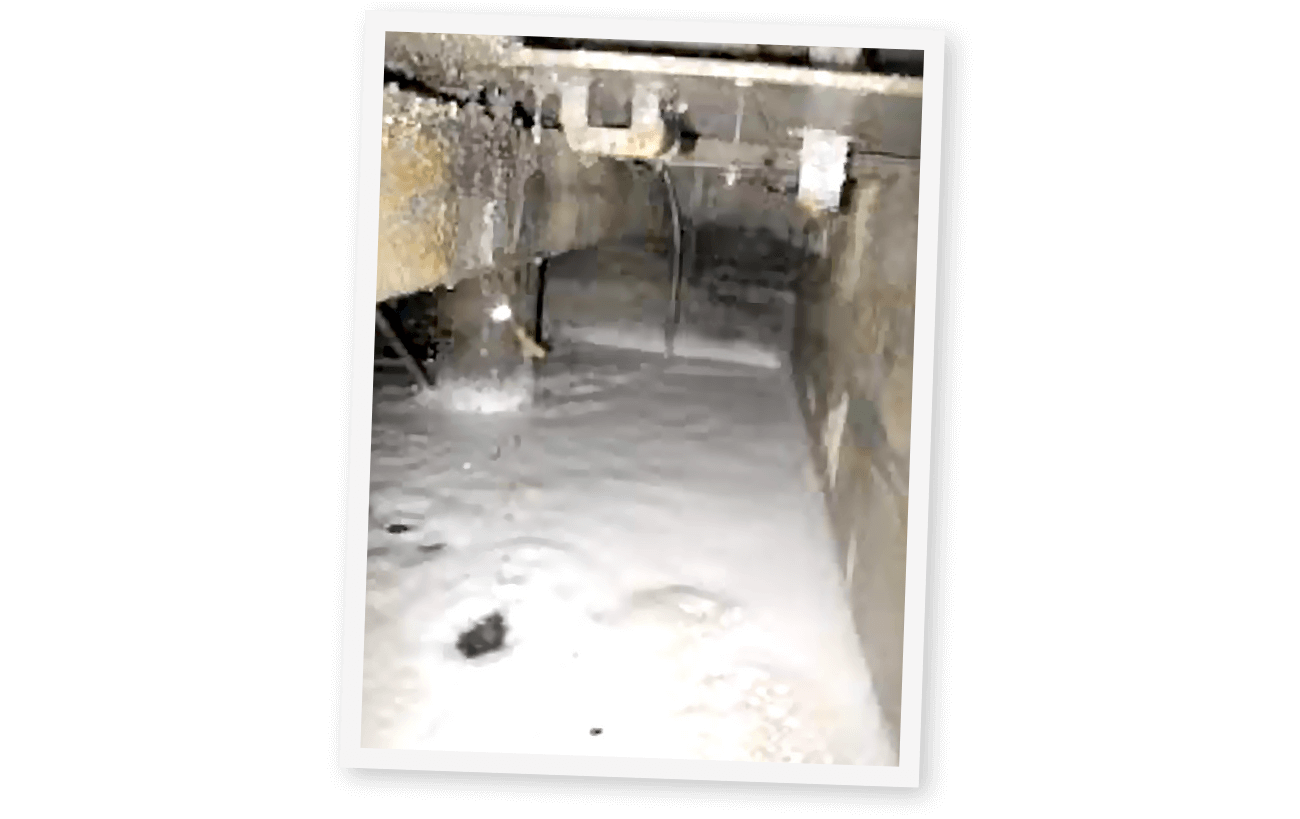
Figure 4 – Foaming in cooling tower sump
Always check the chemical dosing lines at the point of injection to ensure the chemical is dosing, check the chemical stock levels and that the chemical dosing pumps are working. Check the automatic dosing controllers are working and record the readings on the controllers prior to beginning any tests.
Checking the pipework for any leaks is also useful as this may affect the chemical reserves.
Closed Systems
Visual inspections cannot be carried out in closed systems unless you are checking for leaks. The best way to get an overall view of the condition of your system is by using corrosion coupons. Corrosion coupons can be a very useful way to ensure you have adequate corrosion protection and can also be used for cooling towers and other plant where corrosion protection is important.
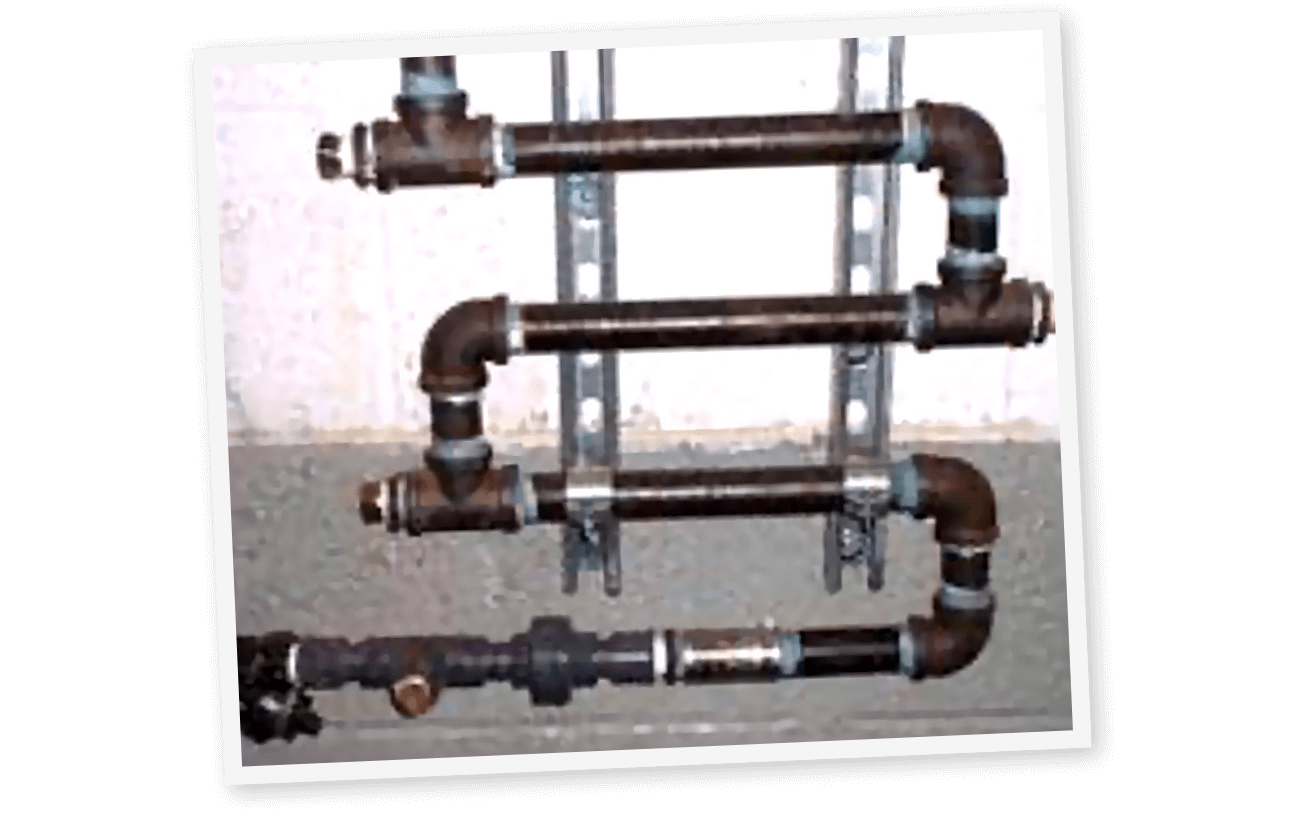
Figure 5 – A coupon rack
Taking Samples
When taking samples for any water system you should always fill the sample bottle up to the top and avoid any air gaps.
Samples should always be taken in clean, sealable containers and the sample point should be run for a suitable amount of time to ensure representative samples are collected.
Sampling too near the chemical injection points will not give you an overall view of what is happening in your water system. Similarly, samples should never be taken too close to the make-up water addition point.
Ensure you take all relevant samples to enable you to give a complete picture of the entire system.
It is worth remembering that there are some species that should be tested as soon as possible after sampling as the chemical reserve can deplete or values change when exposed to the atmosphere. Examples include sulphite, pH and chlorine.
Sampling Steam Boilers
Back in the day, installing sample coolers was always an optional extra. I’m sure many of my colleagues remember the challenge we had of taking a sample from the boiler without burning ourselves. I often found myself armed with an adjustable spanner attached to the sample bottle (to enable as much distance between my hand and the steam) and an oven glove.
Thankfully those days are gone, and most sites now have sample coolers installed on their boilers. It goes without saying that samples should never be taken directly from a boiler. Not only is there an obvious risk to health and safety but the high temperature of the sample can give inaccurate readings.
In order to get a complete understanding of the boiler system, when sampling it is important to include the condensate return, make up water, pre-treatment plant and the combined feed water.
Chemical Analysis
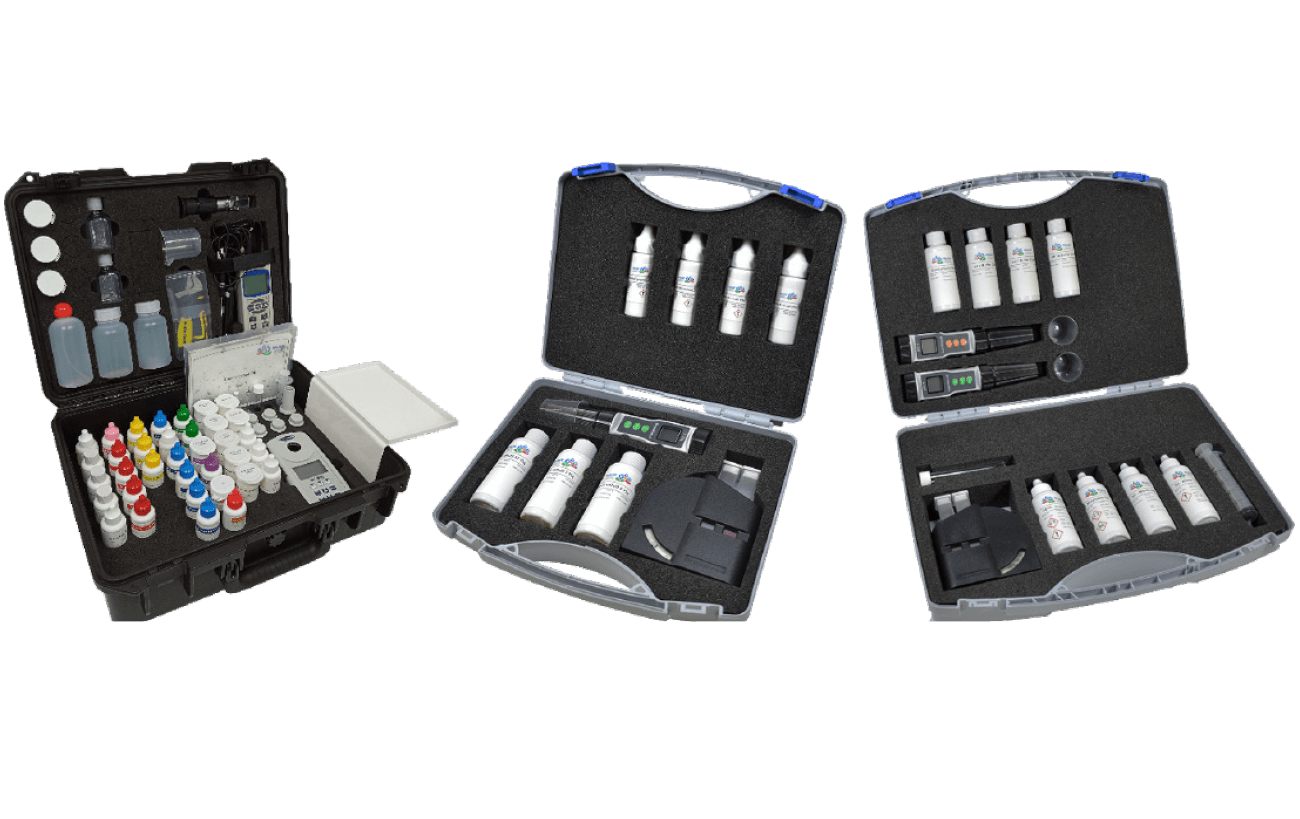
Figure 6 – Field test kits
Photos courtesy of DTK Water
There are certain chemicals/tests that can give varying results if certain factors are not taken into consideration: –
• Sulphite
Sulphite is the most commonly used corrosion inhibitor for steam boiler applications and works by scavenging the oxygen from the water therefore preventing corrosion. As soon as the sample is taken, the water is exposed to air/oxygen so it is important to make sure the sample is filled to the top of the bottle and the bottle is sealed. The sample should be cooled as high temperatures can result in a false reading. This should always be the first test that is performed. Also worth remembering is that you are measuring the reserve in the water therefore if your reserve is less than the recommended minimum of 30 ppm but greater than zero, you do still have some corrosion protection in the boiler so don’t be overly concerned, just ensure that the reserve is increased. Where there is a low load or infrequently used boiler it is worth maintaining the sulphite at higher levels to protect the boiler during periods of low use. There are two main types of sulphite based oxygen scavengers used in the treatment of boiler water, sodium meta-bisulphite and sodium sulphite. It is important to look at the alkalinity of the raw water when choosing which product to use as one is acidic (sodium meta-bisulphite) and one is alkaline (sodium sulphite). Overdosing of either can affect the alkalinity in the boiler water and if you are struggling to control your alkalinities and sulphite at the recommended levels, you may need to change your product.
• TDS/Conductivity
As mentioned earlier, high TDS/Conductivity can result in carryover in a boiler hence accurate readings are very important. To ensure your readings are accurate, you should take the following steps:-
– Always ensure your equipment is calibrated. You are potentially using this reading to set the automatic blowdown controller so it is very important that it is accurate.
– Remember that your meter probes are sensitive to temperature, so to get an accurate reading you will need to make sure the sample is cooled to at least 25 °c. To give you an idea of how important this is, an increase in temperature results in an increase in electrical conductivity; above 25°C there is approximately a 2% increase in conductivity for every 1°C increase in temperature.
– Also, hydroxide alkalinity can increase electrical conductivity disproportionately when compared to other species and its relative solids weight, therefore the boiler water should always be neutralised prior to testing.
• Phosphate
Phosphate is used to protect the boiler from scale and works by reacting with calcium and magnesium hardness, silica and hydroxyl ions to form two precipitates, hydroxyapatite and serpentine. These precipitates when properly conditioned with polymers form a fluid sludge which can be readily removed from the boiler via blowdown.
When performing bottom blowdowns on your boiler, most systems benefit from pulsed bottom blowdowns. This creates a wave effect and helps mobilise any sludge present. Blowing down for longer periods of time without pulsing can create a vortex effect directly above the blowdown outlet and take the water from the top of the boiler only.
When testing for phosphate, the sample should always be filtered using GFC filter paper to ensure you are measuring the residual phosphate and not already precipitated phosphate. This will give you the amount of residual phosphate that is available in the boiler water to react/ precipitate any additional calcium and magnesium hardness that enters the boiler.
• ‘OH’ Alkalinity
M, P and OH alkalinity can be very confusing. Simply put, depending on the pH of the water alkalinity exists in three basic forms: as bicarbonate (up to pH approx.8.2), as carbonate (up to pH approx.10.5) or as hydroxide alkalinity (up to pH 14). So that’s the forms that alkalinity exists in water and it’s somewhat of a ‘chicken & egg’ situation, is the pH a result of the alkalinities present or are the alkalinities because of the pH. Now we need to talk about ‘testing’ for alkalinities and how we report them.
‘M’ or Methyl Orange Alkalinity, (sometimes called total alkalinity) is the sum of these three forms. ‘P’ Alkalinity, or Phenolphthalein Alkalinity measures hydroxide and ‘some’ of the carbonate ions and ‘OH’ Alkalinity, measures the hydroxide ions and some of the carbonate ions. The definitions are somewhat blurred as they exist in an equilibrium which is fluid.
To report on the amount of ‘OH’ alkalinity, we either use the formula 2P-M or use a test procedure where barium chloride precipitates/removes carbonate so you titrate only hydroxide alkalinity.
Often the second test performed after sulphite is alkalinity, and often the same flask is used. As the sulphite test which involves the use of acid starch indicator, always make sure your flask is well rinsed out to prevent a false alkalinity result.
• ‘M’ Alkalinity
In cooling water, high chlorine can interfere with your total alkalinity tests. If your sample goes from green to red instead of blue to yellow/orange after adding the total alkalinity reagent it is likely that there is an excessive amount of chlorine present in the water. To counter this add a few drops of sodium thiosulfate to the sample to remove the chlorine before adding the indicator.
• Hardness
There are a few different scenarios that may confuse you when carrying out hardness tests. You may struggle to reach your end point even though you think you should, or the colour may change to blue but go back to red.
If the colour changes to blue but then quickly goes back to red it is likely that you are not mixing the reagents sufficiently enough and the EDTA is not picking up all the hardness. Make sure you thoroughly swirl the bottle between each addition of the reagent.
If you cannot get an endpoint, this could be due to one of two reasons:-
1) Copper
Hardness indicator in its natural state in water will give a blue colour. If there is hardness present in the water, it will bind with the indicator and the indicator/sample will turn red. The EDTA is then used to pull the hardness off the indicator and when all the hardness is chelated by EDTA, the colour changes to blue. However, in low levels of hardness If copper is present, the copper will bond with the indicator changing it to red and preventing it from turning back to blue. If this happens you will never get an endpoint. To overcome this, starting with a fresh sample add a few drops of EDTA first as it will chelate the copper before it can get to the indicator – remember to include those first two or three drops in the total when calculating the results. This can be experienced anywhere within the boiler system – condensate, feed water, raw water or in the boiler itself.
2) Silica and Phosphate
If you detect low levels of hardness in your feedwater and your softener but cannot get an endpoint in your boiler water sample, it is likely that the silica and/or phosphate in the boiler water is interfering with the test and giving you a false reading. Eventually the EDTA will pull the hardness off the indicator but this will take time. If your feedwater and softener readings are fine, it is safe to assume that the boiler water is also OK. A quick inspection of your boiler sight glass will help support this as softener failing will cause the boiler water to have a milky appearance.
• Iron and copper
These metals interfere with each other and with many other tests. If your corrosion rates are not under control, then your test results can lead you further from desired results. For soluble iron, you should always filter through a 0.45 μ membrane if there are suspended solids present to ensure any insoluble iron is filtered out.
• Chloride
In very dirty water the chloride end point is often difficult to see.
Chloride tests need to be done in a prescribed pH range, typically below 8.5, by neutralising the sample before testing, the end point becomes much clearer.
• Dipslides
Dipslides are a useful tool to give you an indication of microbiological
control within the cooling tower system. However, they are not useful if they are taken incorrectly.
Approximate Colony Forming Units per ml (CFU/ml)
Nutrient TTC

Figure 7 – Dipslide interpretation chart
You should be careful not to contaminate the agar coating, and make sure you gently shake off excess water before returning the dipslide back into its container.
A dipslide will not tell you anything if you leave it in the back of the car, in your test kit or in your office. They must be incubated at the correct temperature for the correct amount of time (typically 30°c for 48 hours but refer to the manufacturers guidance). You will be able to obtain an early indication of the level of growth expected after 24 hours and it is always worth checking. If your system is not in control you will be able to take action sooner.
• Chlorine/Bromine
Free, Total and Combined – which one do we measure?
Free halogen residual measures the concentration of unreacted chlorine and/or bromine available to kill microorganisms.
Combined halogen residual measures the concentration of oxidant that has been consumed, and total halogen residual is the sum of free and combined.
Typically it is the free chlorine reserves that is the one we most often use to propose the biocidal efficacy as it gives us an indication of how much biocide is available to disinfect the water. However, it is good practice to routinely monitor both free and total chlorine residuals when treating a cooling tower. This is because a low free residual of chlorine in comparison with a high total residual typically indicates a high oxidiser demand which could indicate fouling.
Also keep in mind if using chlorine that higher pH levels affect the efficacy of the biocide so you might find that if you are using chlorine with a pH in your water over 7.5 your chemical consumption will need to increase to provide the same level of biocidal kill.

Figure 8 – Effects of pH on chlorine and bromine
Chlorine test Interferences
High chlorine or bromine levels (usually above 10 ppm) can bleach out the DPD indicator and prevent the pink colour from developing. At first glance, one may think that there is no biocide in the system and increase the dosage which can lead to corrosion.
A tell-tale sign that this is occurring is when you see a flash of pink in the sample when the DPD is added, but then the sample goes back to colourless. If this happens, dilution with a non-chlorinated water is necessary to determine the correct chlorine levels in these waters.
Another thing to be aware of is that high levels of combined chlorine or bromine can react with the DPD free chlorine test to give a false free residual reading that gradually increases over time. If a true free residual is present, you should get an instant colour change. If the reading gradually appears, it is more likely to be combined chlorine. To minimise this interference, take the free reading immediately after adding the DPD free reagent.
• Phosphonate
Phosphonate is often used to control scale and corrosion in cooling water. Depending on which type of test you are using (i.e. digestion method), fluoride, iron, orthophosphate and polyphosphate can all interfere with phosphonate testing. If your results are unusual, then testing for these interferences may be of benefit.
Phosphonate is naturally occurring in mains water so to get an accurate measurement of the levels, you should always test for presence in the mains water and subtract from your final result.
• Sodium Nitrite
Sodium Nitrite has been used in closed loop systems as a corrosion inhibitor for many years. Nitrite is often chosen for its economic benefits as it is more cost effective than other inhibitors. However the main drawback of using nitrite is that it can be oxidised by microorganisms. If you suddenly lose your nitrite reserve but your conductivity/TDS hasn’t changed, it could be an indication of the presence of nitrite reducing bacteria, or NRBs and should be further investigated. Also due to the resulting high pH with a full nitrite programme, they should only be considered for aluminium free systems.
• Molybdate and Iron
These tests are carried out using either a photometer or a comparator. For Molybdate we use Molybdate HR reagent and for Iron we use FE6 & FE8 reagents. Both Molybdate HR & FE6 reagents are the same – thioglycolate. The way that each complex reacts with acid/alkaline conditions allows us to carry the test out without one interfering with the other.
The molybdate-thioglycolate complex is colourless in alkaline conditions but yellow in acidic conditions. Because thioglycolate is acidic in nature, it is usually enough to alter the pH in your sample to allow the Molybdate test to be carried out.
For Iron, the iron-thioglycolate complex is colourless in acidic conditions and goes purple in alkaline conditions. Because thioglycolate is acidic and we need alkaline conditions for the colour change to purple, FE8 reagent (ammonia based) is added to the sample.
To confuse things further, if nitrite is present, the colour change will also be affected – for molybdate it will change the colour from yellow to orange and for Iron it will change the colour from purple to orange. To overcome this, start with a fresh sample and add a few crystals of TN1 powder (sulphamic acid).
More information on this can be found in the article “Effective ‘Field Testing’ of Closed Water Systems by Ian Penney, Waterline Summer 2019.
General Tips
• Be familiar with the test methods and always follow the method statements concisely
• Don’t let the sample sit for any long period of time before testing or it may change the character of the water. Ensure the sample taken is representative of the entire system.
• Always make sure you use the correct sample volume
• If using drop tests, hold the bottles straight up and down so the drop size is correct. Apply gentle pressure to allow the drop to fall without being squeezed. Always keep your dropper bottles clean and free of eposits and replace regularly. Do not try and clear a blocked dropper tip by inserting anything into it as this can change the pore size and result in incorrect drop sizes going forward.
• Make sure you mix reagents into the sample thoroughly and the container is clean and free of contaminants. Rinse out several times after each test to avoid residual contaminants.
• If using comparators, always match colours in natural light. Florescent lighting, incandescent lighting and sunglasses can alter the colour perception.
• Always replace bottle caps after each use to avoid contaminating reagents.
• Always ensure your reagents are within use by date.
• Keep reagents out of direct sunlight.
• Do not reuse calibration solution.
• Do not replace reagents with a different manufacturer’s reagent in the same bottle as the formulation may be different.
• If the test result is at the maximum range, it is worthwhile to repeat the test after diluting the sample with distilled water to ensure the results are correct. • Always check your results before submitting the report – do they look sensible/technically correct? If there is any doubt re-test or re-sample.
• Ensure all test equipment is well rinsed between tests. For example, if you are testing a boiler water TDS with an expected range of 3500 ppm before a condensate water test with and expected range of 10 ppm you could get a false reading if the equipment is not suitably rinsed before tests. It is always best to start your testing from low to high expected results to avoid this.
• If recording your results manually and you need to correct a result, always make sure this is signed and initialled. Ensure you always fill in the date and sign the report.
• Be aware of chemical relationships in the water – for example if you have high sulphite, which is acidic if not neutralised, and low alkalinity, reduce the sulphite first to allow the alkalinity to naturally recover and monitor carefully.
• Keep your test kit tidy and organised and use coloured lids so things are easy to find.
• And finally… if in doubt, ask. There is no such thing as a stupid question, only a stupid answer.
Acknowledgements
Special thanks to Ian Penney (DTKWater) for his contributions.